1. Configuring the NVIDIA Jetson NX
Equipment Used:
Pit/Host laptop/computer running any Operating System
Fully-built F1TENTH vehicle
microSD card (16GB minimum)
USB micro cable (must have both data and power wires)
microSD card reader/writer for Pit/Host PC
SD card image burning software (e.g. Balena Etcher)
Terminal emulation software (e.g. PuTTy, screen, miniterm.py, etc.)
Approximate Time Investment: 1-2 hours
1. Flash Jetson NX with Software
The setup of the Nvidia Jetson NX is easy and convenient. NVIDIA themselves provide a detailed step-by-step getting started on how to bring the NVIDIA Jetpack Software on the NVIDIA Jetson NX. You can either follow this documentation here or follow our step-by-step introduction below.
Go to the NVIDIA Develoeprs Download Center at https://developer.nvidia.com/downloads and click Jetson.
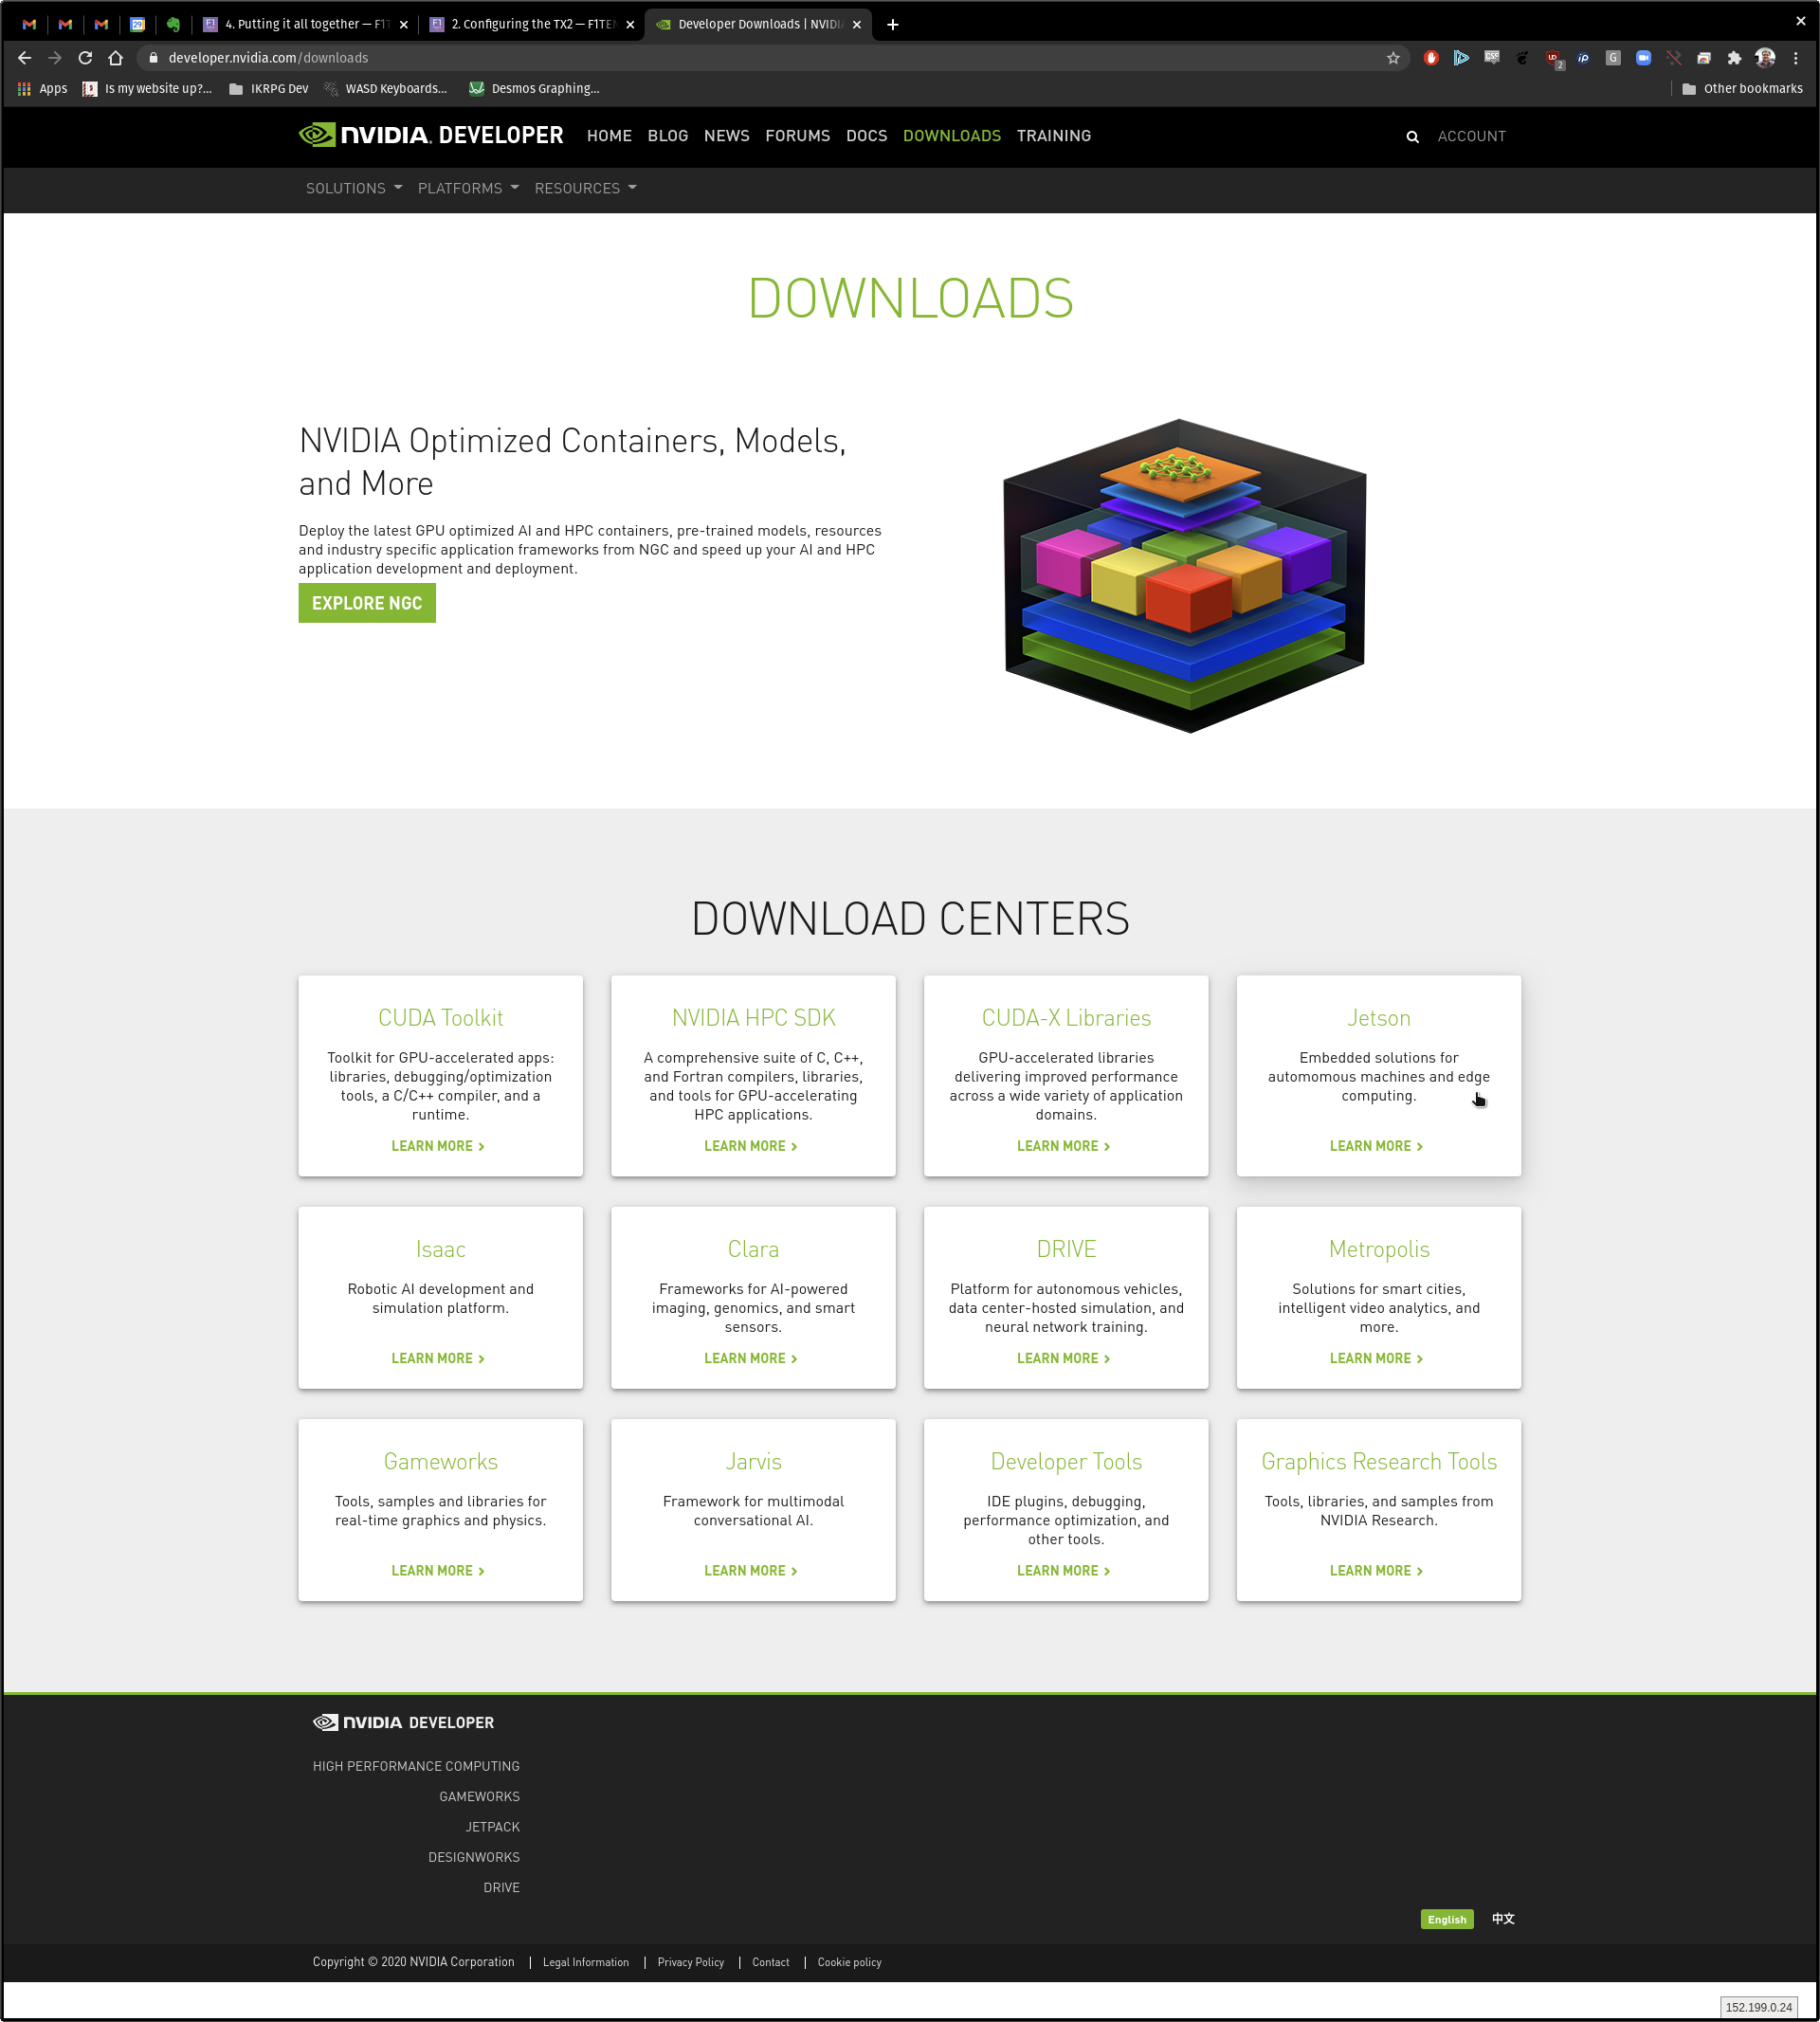
NVIDIA Developers Download Center
Under SD Card Image Method, click Jetson Xavier NX Developer Kit.

Jetson Xavier NX Developer Kit downloads.
The next page will require you to log in with an NVIDIA Developer Program login. If you do not have one, click Join Now - Registration is free. If you already have an account, click Login.
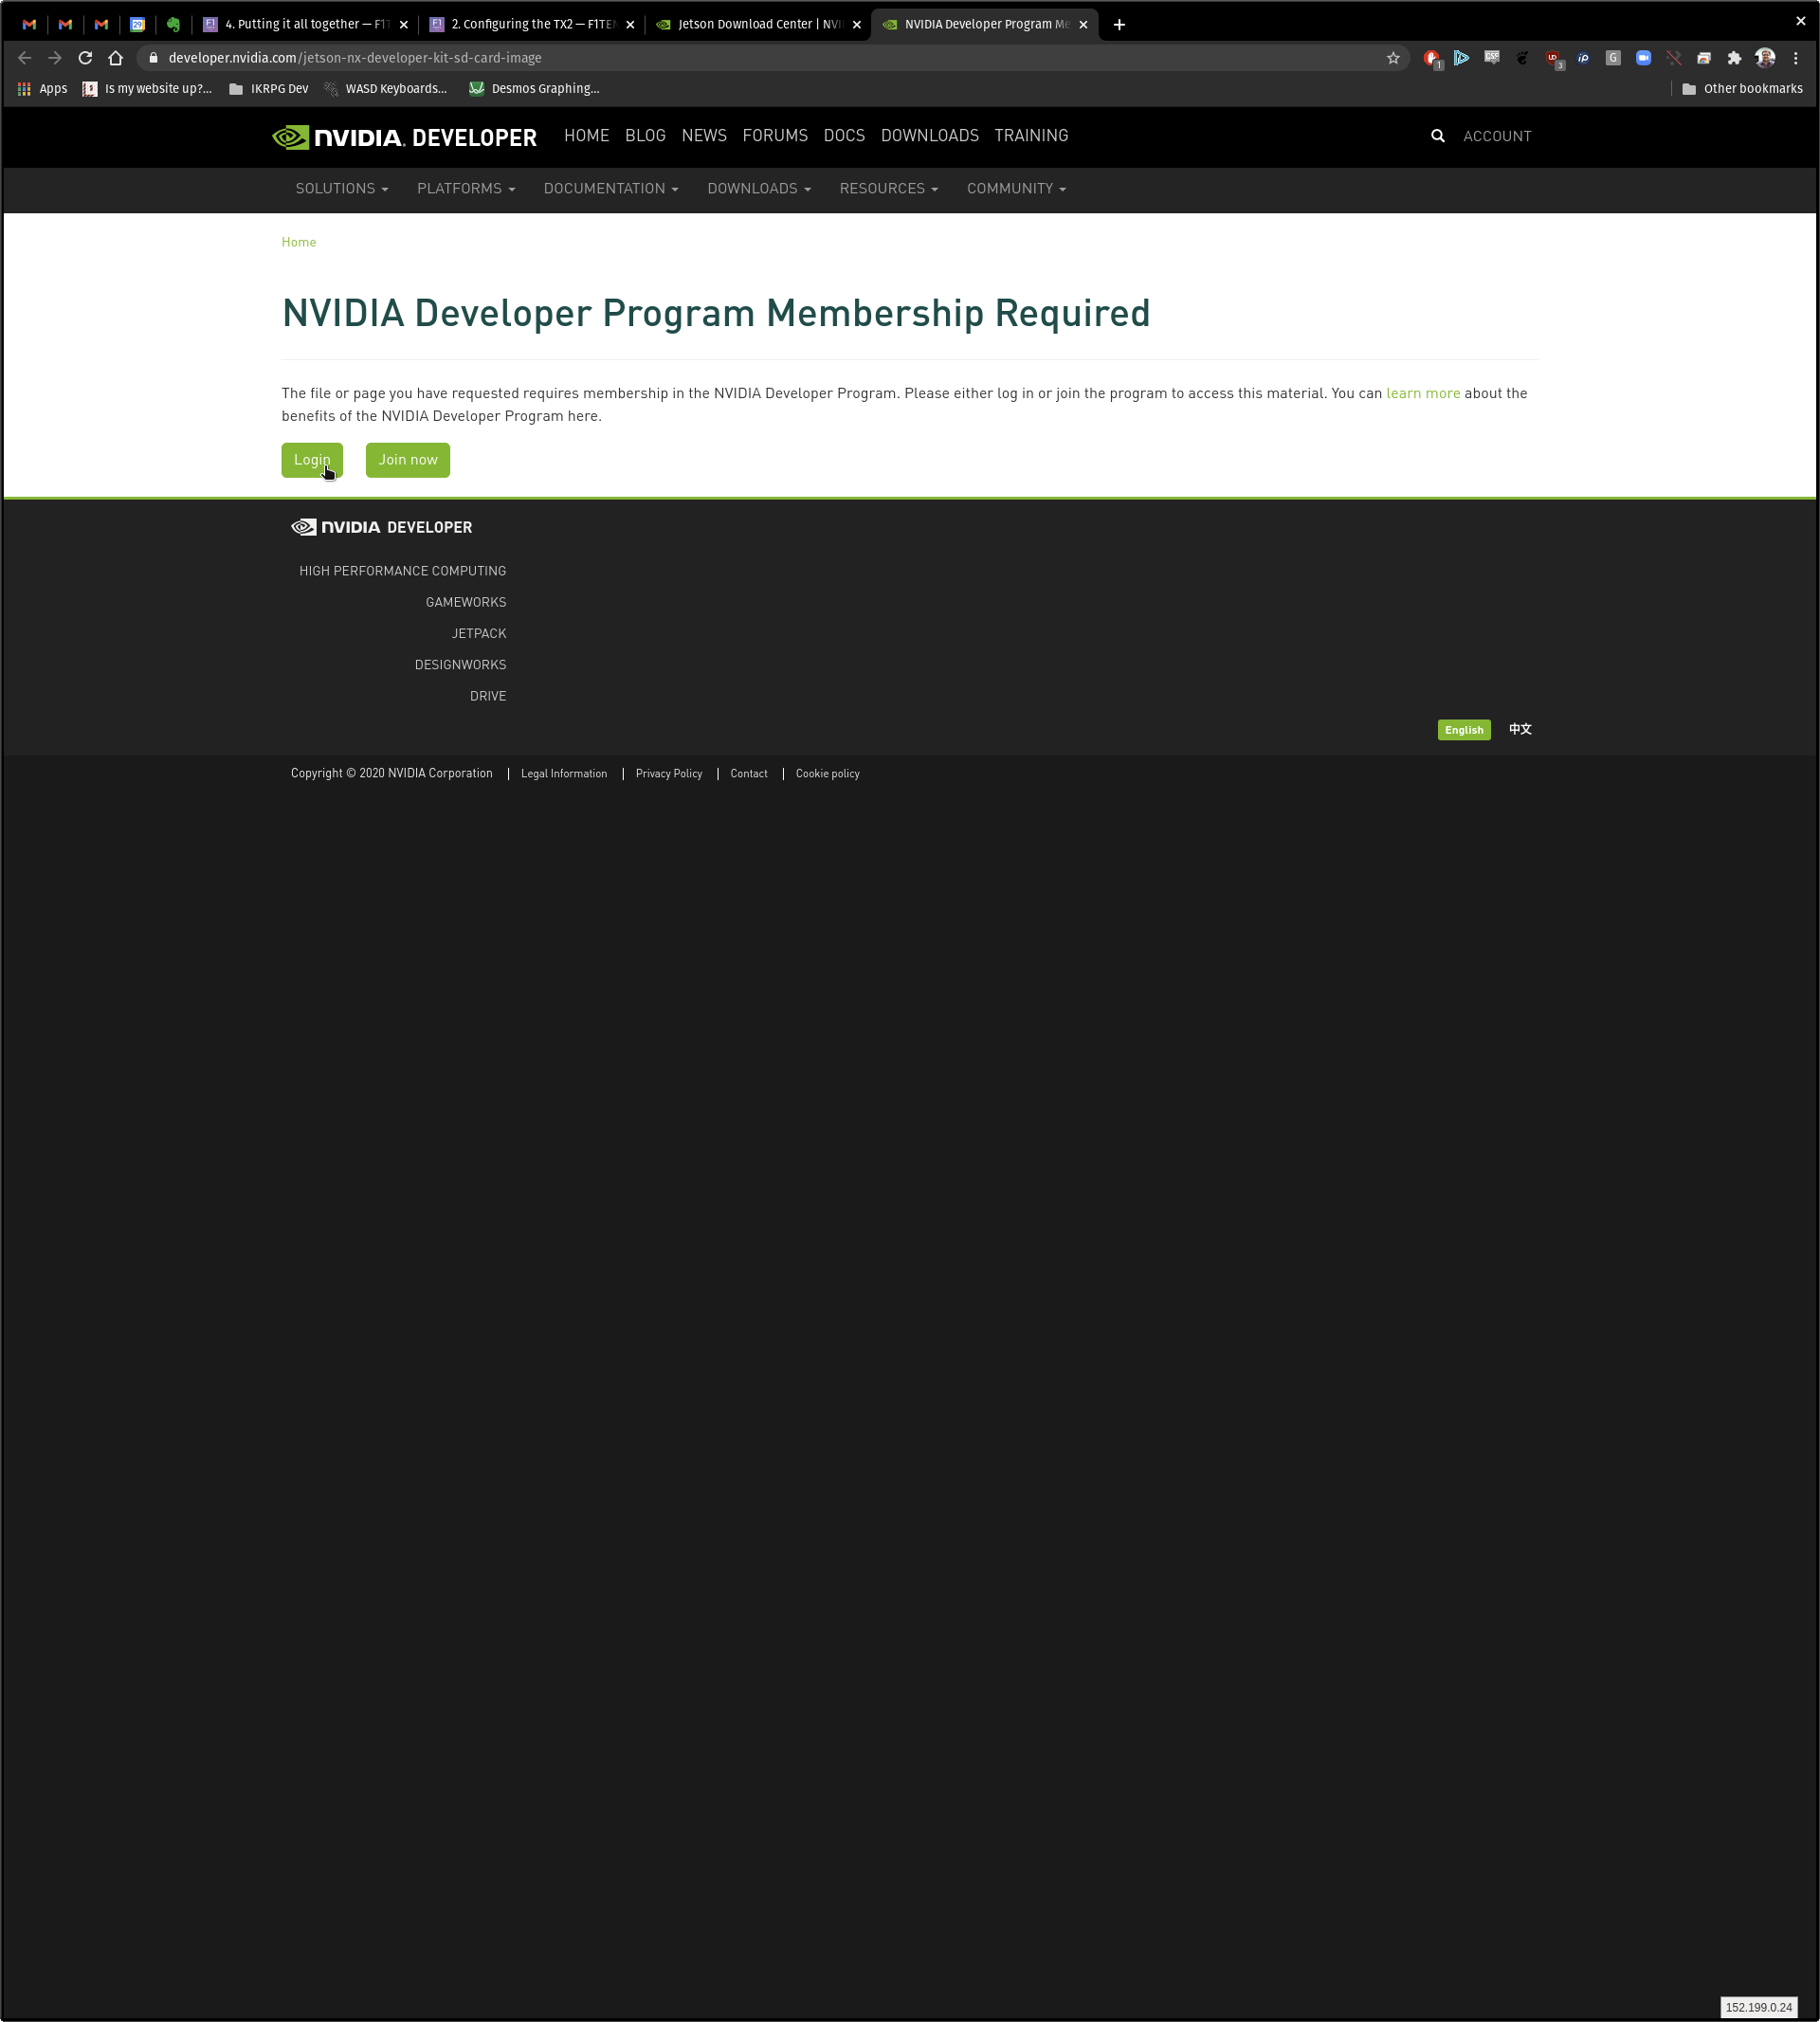
NVIDIA Developer Program login page.
Once you have logged in, you will be redirected to your profile settings page. At the top of this page, you should see a banner with a button with the text “Jetson Xavier NX Developer Kit SD Card Image.” Click this button.

NVIDIA Developer Program profile page download button.
Once the zip file has finished downloading, extract it. This will create a new file, sd-blob.img. This is the file that contains the NVIDIA Jetson Xavier NX Developer Kit software and operating system.
Put the acquired microSD card into the SD card reader/writer and then plug the SD card reader into the Host PC.
Download, install, and launch SD card image burning software Etcher.
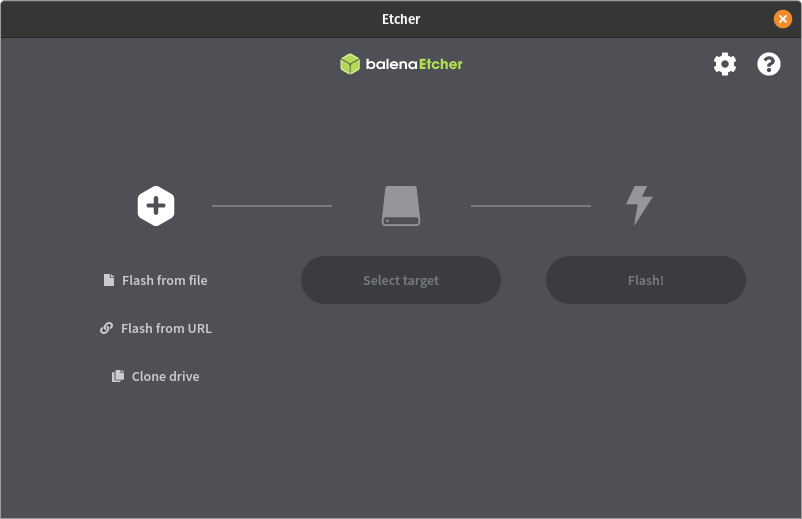
SD card burner software Etcher.
Choose Flash the file and select the image you downloaded from NVIDIA. When the file selection window comes up, choose the sd-XXXX.img file extracted earlier.
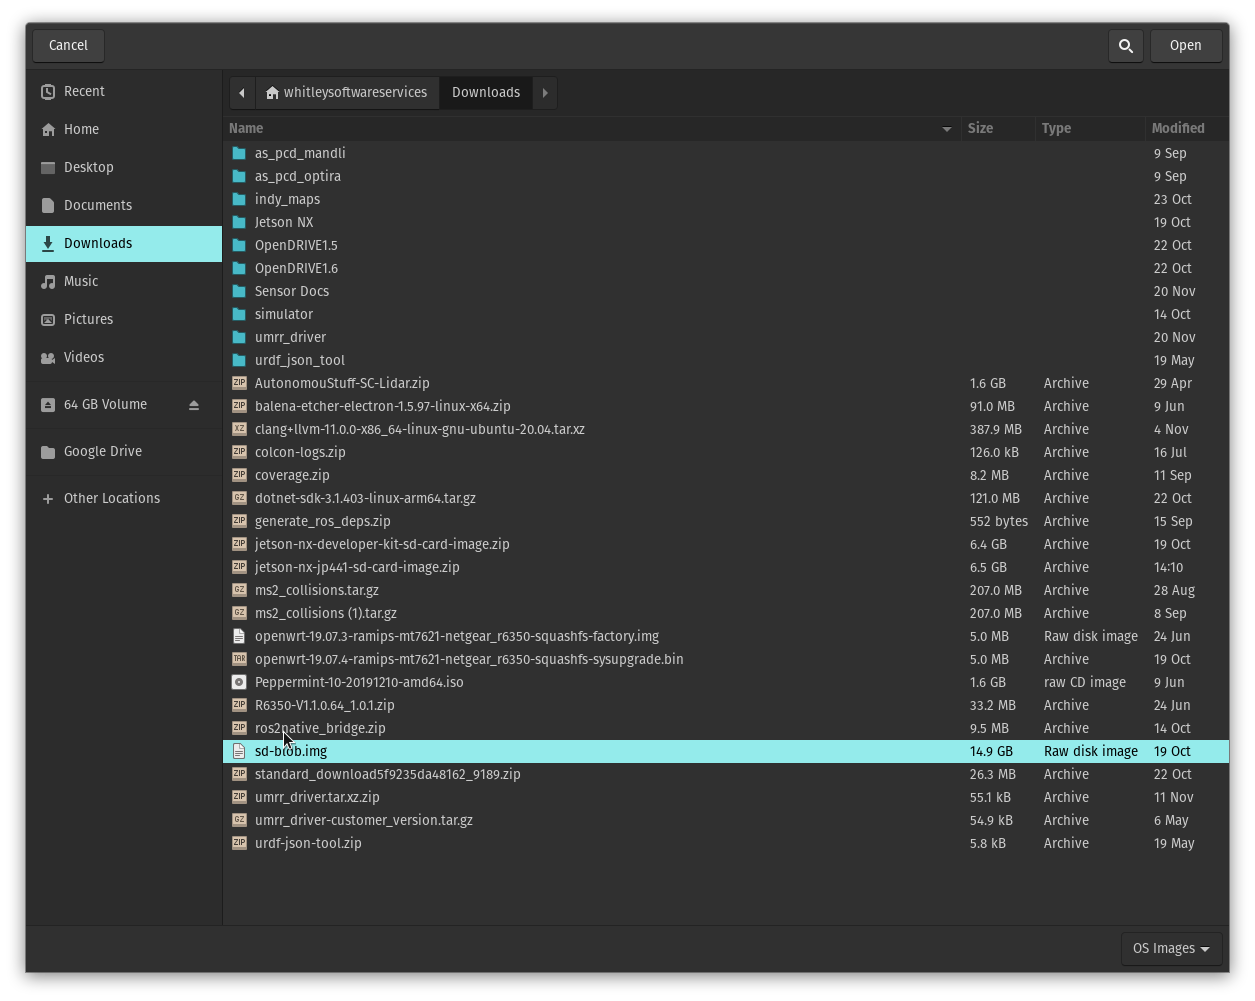
File selection window.
For the “target” device, choose the microSD card in the microSD card reader/writer.
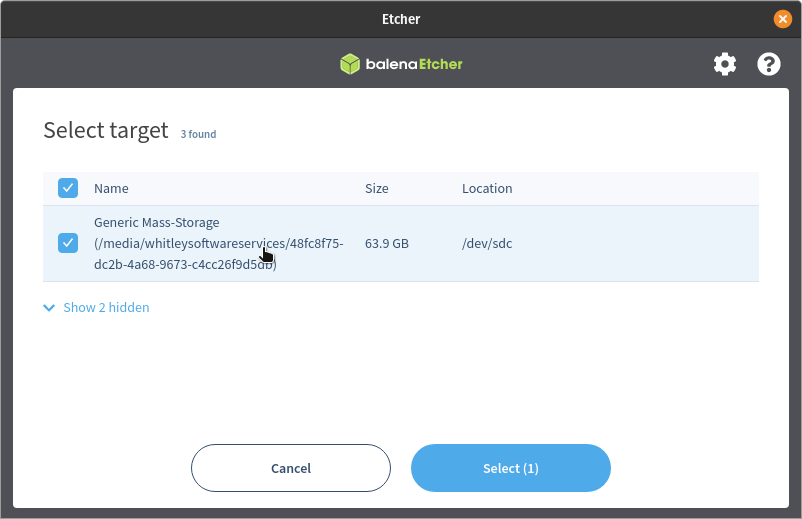
Target selection window.
Click “Flash!” (or similar for your software). This process will take some time and is mainly depending on the speed write speed of your microSD card (20+ minutes).
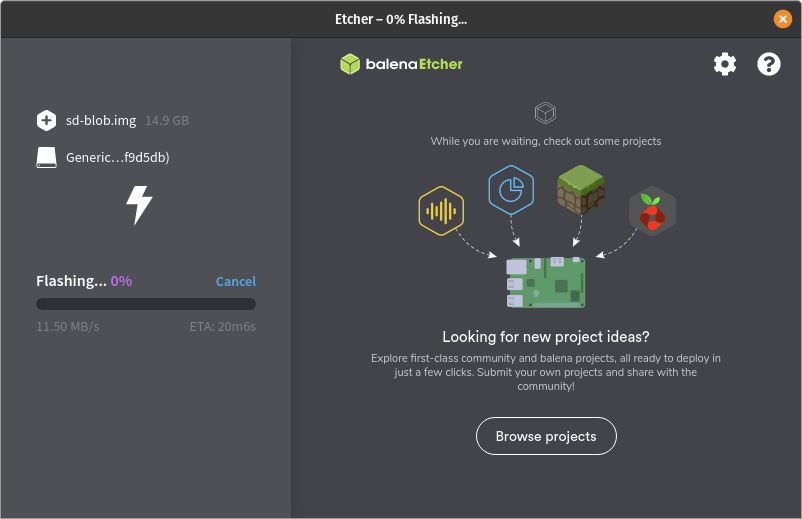
Flashing process.
Once the flashing process is complete, verify that any activity lights on your SD card reader/writer are no longer blinking. Properly un-mount/eject the microSD card before physically removing it from the reader/writer.
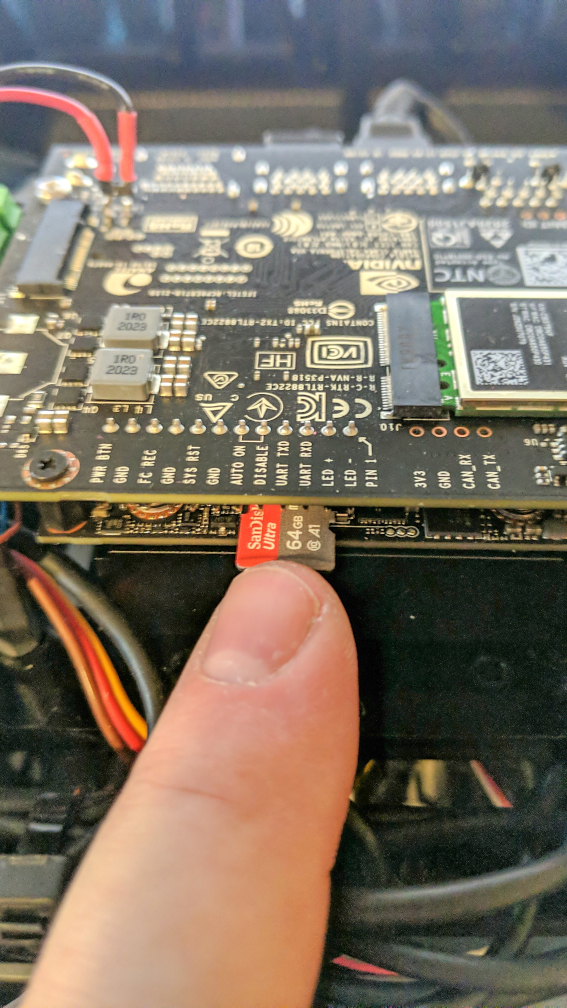
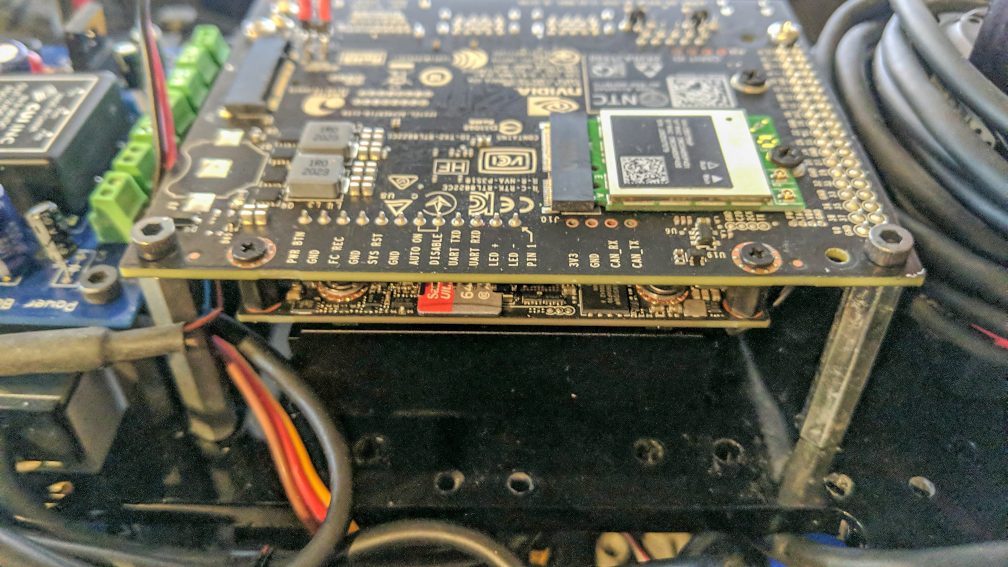
Now its time to bring the software on the NVIDIA Jetson NX. Insert the flashed microSD card into the NVIDIA Jetson Xavier NX module with the label facing up. Push the microSD card all the way in until it locks into place with a small click. The edge of the microSD card should be flush with the PCB of the NVIDIA Jetson Xavier NX module and carrier board.
When you have entered the microSD card you can power up the Jetson NX on the F1TENTH car for the first time. First of all plug the following into the Jetson NX:
USB Port: A keyboard
USB Port: A mouse
HDMI Port: An external monitor
Now you can provide energy for the F1TENTH car. You either do this with the battery on the car or plug in an external power supply that provides 16V. The Jetson Xavier NX Developer Kit will power on and boot automatically after you provided the power supply.
Important
The barrel jack on the powerboard is only rated for 9.0V - 16.0V. The power supplies that come with the Jetson NX are 19V and therefore have a higher voltage. Do not plug those in. Otherwise you will destroy your powerboard.
A green LED next to the Micro-USB connector will light as soon as the developer kit powers on. When you boot the first time, the Jetson Xavier NX Developer Kit will take you through some initial setup, including:
Review and accept NVIDIA Jetson software EULA
Select system language, keyboard layout, and time zone
Connect to Wireless network
Create username, password, and computer name
Log in
After logging in you should see the following screen. Congratulations, your NVIDIA Jetson NX on your F1TENTH car is ready to go.

First boot of the NVIDIA Jetson NX.
2. Run Jetson NX from SSD
In the build instruction we applied an SSD NVMe on to the Jetson NX. We will now make use of this SSD by switching the rootfs to point to the SSD. In effect, the system will now run from the SSD, the SD card is only there to boot the system. Therefore everything you install on your system will automatically installed on the SSD.
Please follow this tutorial here that has both video and commands integrated to enable your Jetson NX to run from the SSD
Important
These script changes the rootfs to the SSD after the kernel image is loaded from the eMMC/SD card. For the Xavier NX, you will still need to have the SD card installed for booting. As of this writing, the default configuration of the Jetson NX does not allow direct booting from the NVMe.
3. Configuring WiFi and SSH
We will use the Network Manager command-line tool nmcli to configure the WiFi on the NVIDIA Jetson Xavier NX. To find the interface name of your WiFi adapter, start by typing
nmcli dand hitting ENTER. This will list your available interfaces. My wifi interface is namedwlan0so I will use that in all future steps. If your WiFi interface is named something different, you will have to replace that in future commands.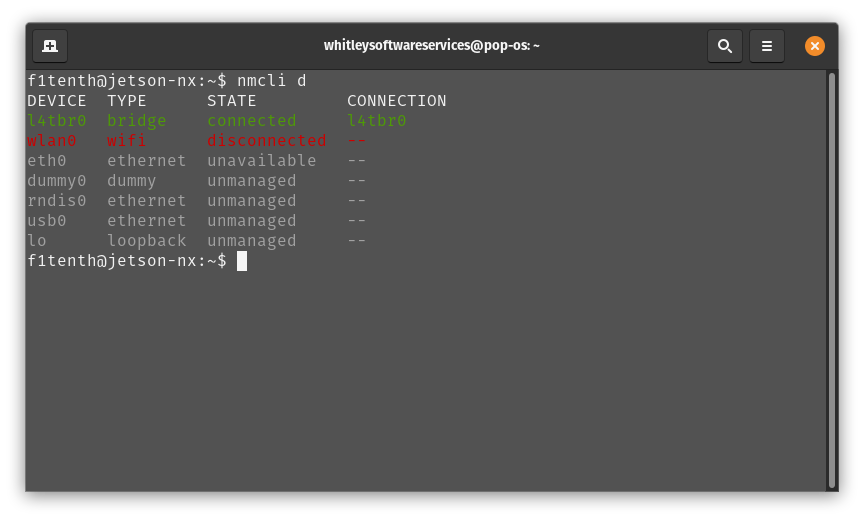
WiFi network selection.
To make sure that your WiFi radio is turned on, type
nmcli r wifi onand hit ENTER. This will not show anything on the terminal if the command succeeded.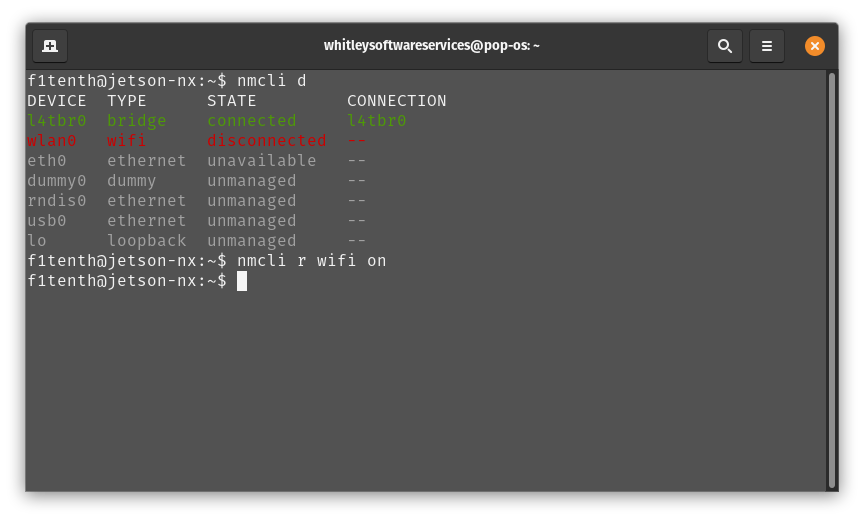
Enable WiFi radio.
To see the list of WiFi SSIDs that your WiFi adapter can see, type
nmcli d wifi listand hit ENTER. After the list is printed, hitqto continue.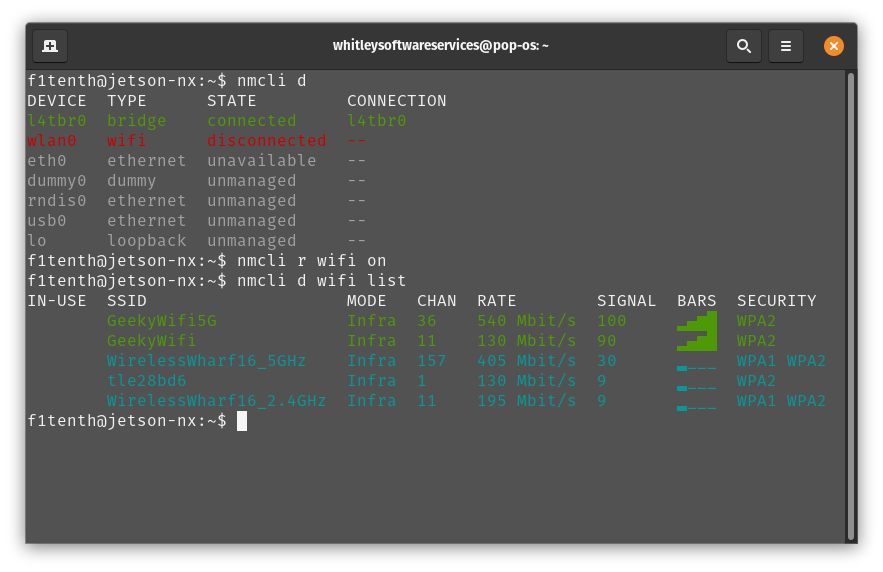
WiFi SSID selection.
To connect to a specific WiFi SSID, use the command
sudo nmcli d wifi connect [SSID] password [PASSWORD]where[SSID]is replaced with the SSID with which you want to connect and[PASSWORD]is replaced with the password to connect to that SSID. Hit ENTER.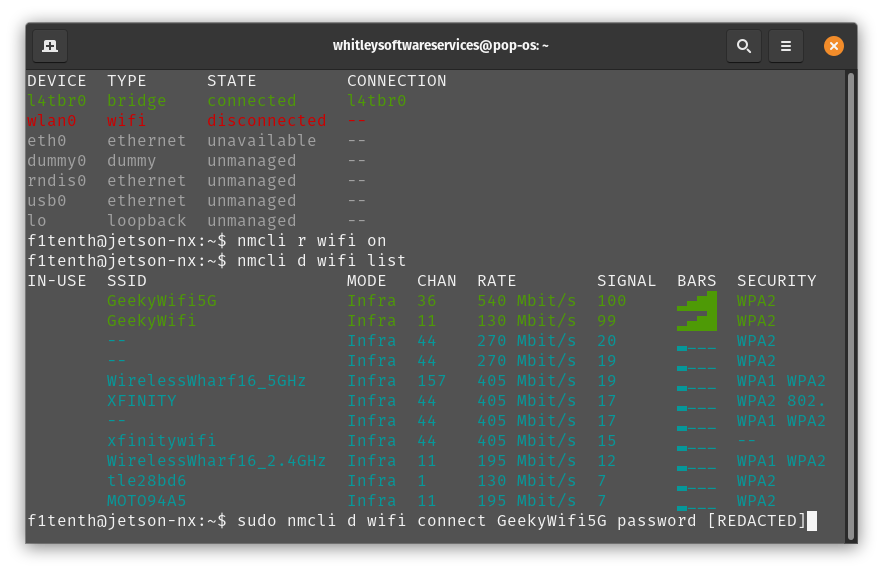
Connect to specific WiFi network.
If the connection was successful, you should see the message
Device 'wlan0' successfully activated with [GUID].By default, WiFi will be connected using DHCP which means you may get a new IP address each time the device is turned on. In the next steps, we will configure the WiFi connection with a static IP address so you can SSH into the Developer Kit reliably. To set a static IP address, you will need to know the subnet, IP address range, and gateway of your wifi network.
To get the currently-assigned IP address use the command
ip addr show dev wlan0.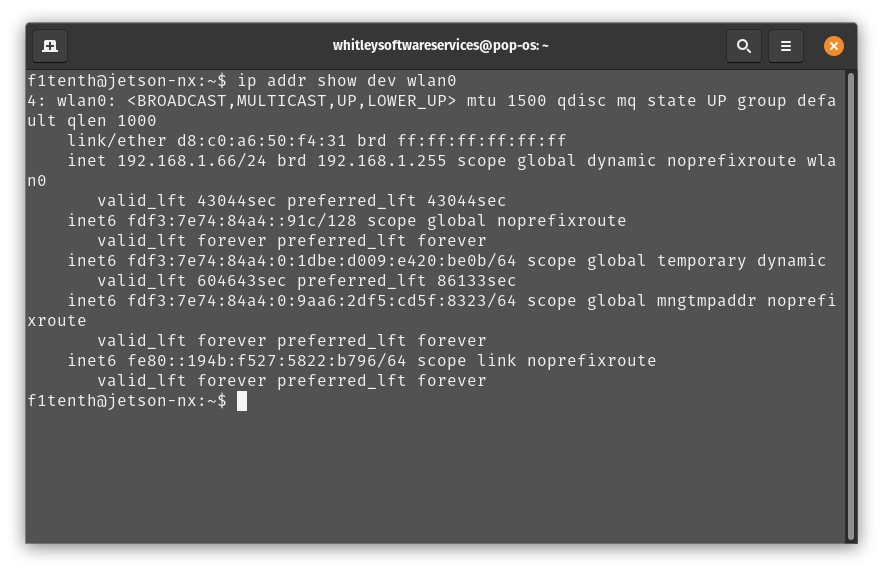
Currently-connected WiFi IP address.
To set a static IP address, you will also need to know the name of the connection. This is usually the same as the SSID of the WiFi network but not always. To see the list of current connections, use the command
nmcli c show.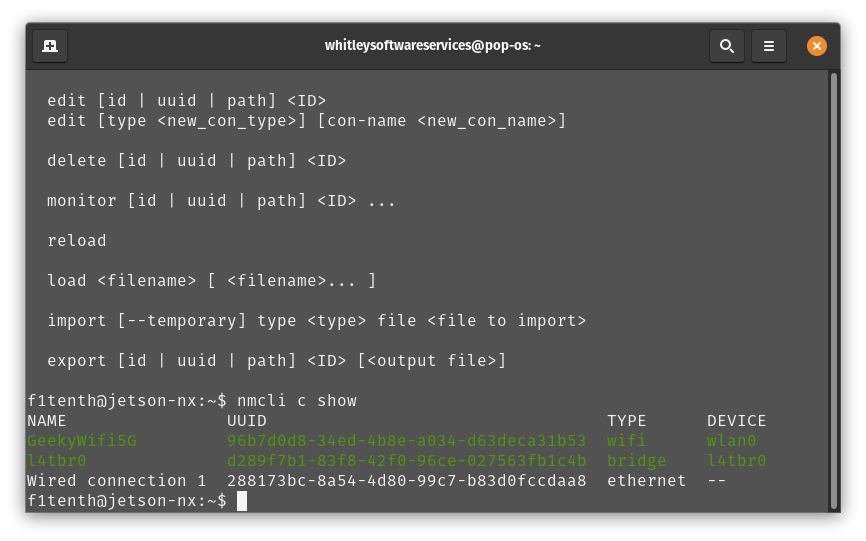
List of connections.
To set a static IP address use the command
sudo nmcli c mod [CONNECTION_NAME] ipv4.address [NEW_ADDRESS]/[CIDR]where[CONNECTION_NAME]is replaced with the name of your WiFi connection that you got from step 8,[NEW_ADDRESS]is replaced with the static IP address that you want to set, and[CIDR]is the CIDR representation of the subnet (usually 24).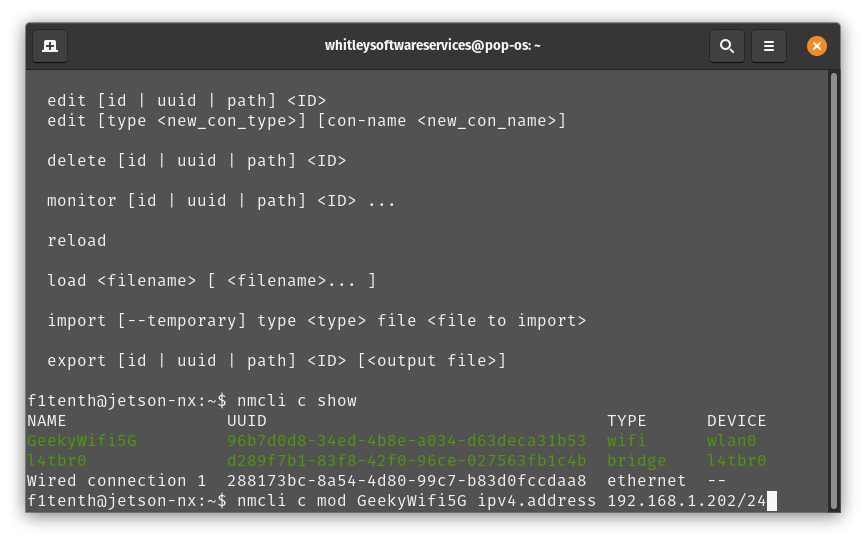
Setting static IP address.
To set the connection’s default gateway, use the command
sudo nmcli c mod [CONNECTION_NAME] ipv4.gateway [GATEWAY_IP]where[CONNECTION_NAME]is replaced with the name of your WiFi connection that you got from step 8 and[GATEWAY_IP]is replaced with the IP address of your WiFi network’s gateway/router.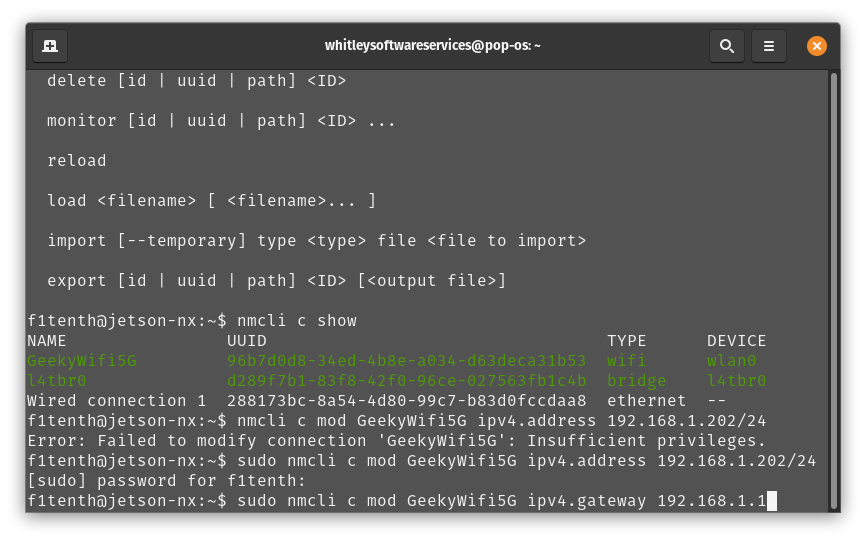
Setting IP gateway.
To set the connection’s DNS servers, use the command
sudo nmcli c mod [CONNECTION_NAME] ipv4.dns "[DNS_SERVER1]"where[CONNECTION_NAME]is replaced with the name of your WiFi connection that you got from step 8 and[DNS_SERVERS]is replaced with a comma-separated list of DNS server IP addresses. Google DNS servers at 8.8.8.8 and 8.8.4.4 are recommended.To disable DHCP and always use the static IP address on this connection, use the command
sudo nmcli c mod [CONNECTION_NAME] ipv4.method manualwhere[CONNECTION_NAME]is replaced with the name of your WiFi connection that you got from step 8.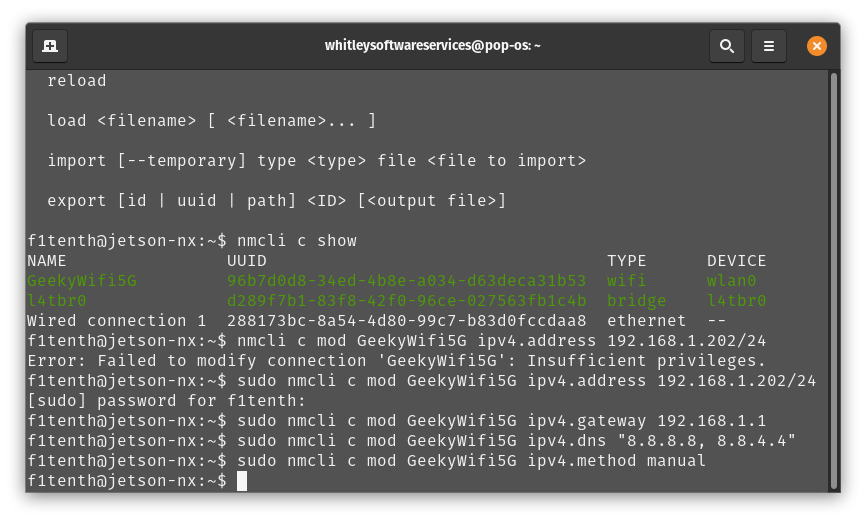
Setting connection to always use static IP.
To save the changes you’ve made, run the command
sudo nmcli c up [CONNECTION_NAME]where[CONNECTION_NAME]is replaced with the name of your WiFi connection that you got from step 8.To verify that you can SSH into the NVIDIA Jetson Xavier NX Developer Kit, verify that the Pit/Host PC is connected to the same network as the Jetson Xavier NX Developer Kit and use an SSH client on the Host PC to connect to the new IP address of the Developer Kit. On Linux this would be done with the command
ssh f1tenth@[IP_ADDRESS]where[IP_ADDRESS]is replaced with the static IP address that you assigned to the Developer Kit. After you have verified that SSH works correctly, you can close the connection to the Developer Kit in your terminal emulator.
4. Updating Packages
All further steps assume that your NVIDIA Jetson Xavier NX Developer Kit is connected to the internet. You can execute all the commands directly in the terminal application of the NVIDIA Jetson. Now we are updating the Ubuntu system on the Jetson NX.
To update the list of available packages, run
sudo apt update.To install all available updates, run
sudo apt full-upgrade.Once all packages have been upgraded run
sudo rebootto restart the Developer Kit and apply any changes.
5. Creating a Swapfile
Run the following commands to create a swapfile which can help with memory-intensive tasks
sudo fallocate -l 4G /var/swapfile
sudo chmod 600 /var/swapfile
sudo mkswap /var/swapfile
sudo swapon /var/swapfile
sudo bash -c 'echo "/var/swapfile swap swap defaults 0 0" >> /etc/fstab'
6. Install the Logitech F710 driver on the Jetson.
git clone https://github.com/jetsonhacks/logitech-f710-module
cd logitech-f710-module
./install-module.sh